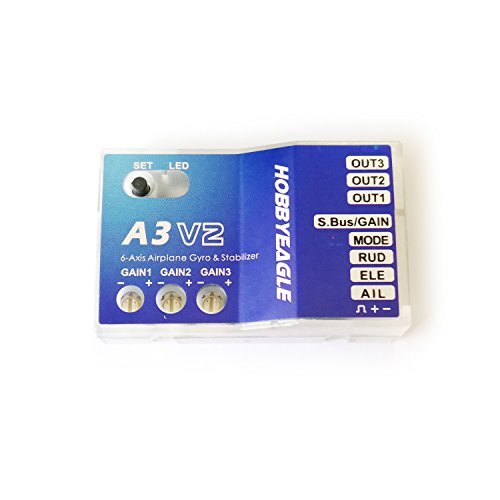
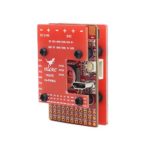
HOBBYEAGLE A3 Aeroplane Flight Controller Stabilizer System 6-axle Gyro for RC Drone Airplane Fixed-wing Copter
Video Tutorial:
http://www.hobbyeagle.com/2014/a3super2.php
http://v.youku.com/v_show/id_xnzq2mtczndmy.html
http://v.youku.com/v_show/id_xnzq2mtc3mjyw.html
http://v.youku.com/v_show/id_xnzq3mdy4odc2.html
http://v.youku.com/v_show/id_xnzq3mdu5odk2.html
Features:
One-Click Hover, Self-Hover.
Standard Wing Type, Delta-Wing and v-Tail.
Remote Master Gain.
Servo Frequencies: 50hz/125hz/250hz;
Separated Gain Adjustment for Each Flight Mode.
Automatic Stick Centering.
Hv (7.4) Operating Voltage Supported.
Futaba S.Bus/s.Bus 2 Supported.
Easy To Use, Extremely Well-Suited To Beginners.
Caution Notes
Please Confirm The 13-Bit Unique Product Series Number (s/n) On The Bar Code Label When Purchasing. This Number Can Be Verified At Our Website and It Is Also Required In The After-Sale Service, Please Keep It Securely!
Before Power On, Put The Aileron, Elevator and Rudder Sticks In The Middle Position. The Controller Needs To Perform Self-Calibration and Stick Centering After You Plugging The Battery, The Led Will Keep Blinking Blue Rapidly For About 3 Seconds While Calibrating, Just Don’t Move The Plane And The Sticks Until The Initialization Is Done.
It’s Extremely Important To Verify That The Gyro Reacts In The Correct Direction Before Flight, or It Could Lead To Losing Control or Even Crash During Flight!
You Need To Restart The Controller After Changing The Receiver Type To Make New Setting Take Effect.
Never Use The Delta-Wing or v-Tail Mixing Functions of Your Transmitter. The New A3 Series Supports a Wide Working Voltage From 5 To 7.4v, You Can Use HV Receiver or Servo Directly.
The Radio Control Models Are Not Toys. The Propellers Rotate At High Speed and Pose Potential Risk, Please Carry Out Debugging and Flying In Open Space Far Away From The Crowd. The Beginner Should Be Directed By Someone Experienced.
- Standard Wing Type, Delta-Wing and v-Tail.
- Separated Gain Adjustment for Each Flight Mode.
- Please Confirm The 13-Bit Unique Product Series Number (s/n) On The Bar Code Label When Purchasing. This Number Can Be Verified At Our Website and It Is Also Required In The After-Sale Service, Please Keep It Securely!
- Before Power On, Put The Aileron, Elevator and Rudder Sticks In The Middle Position. The Controller Needs To Perform Self-Calibration and Stick Centering After You Plugging The Battery
- The Led Will Keep Blinking Blue Rapidly For About 3 Seconds While Calibrating, Just Don’t Move The Plane And The Sticks Until The Initialization Is Done.
